D455f depth issue
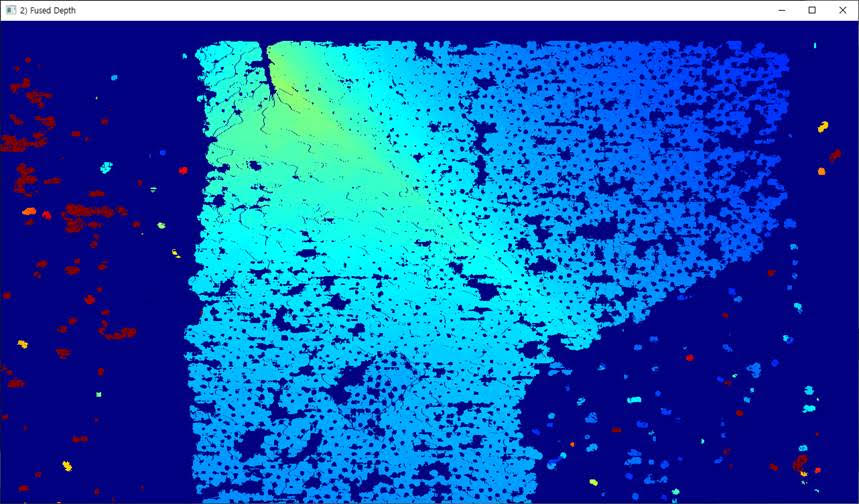
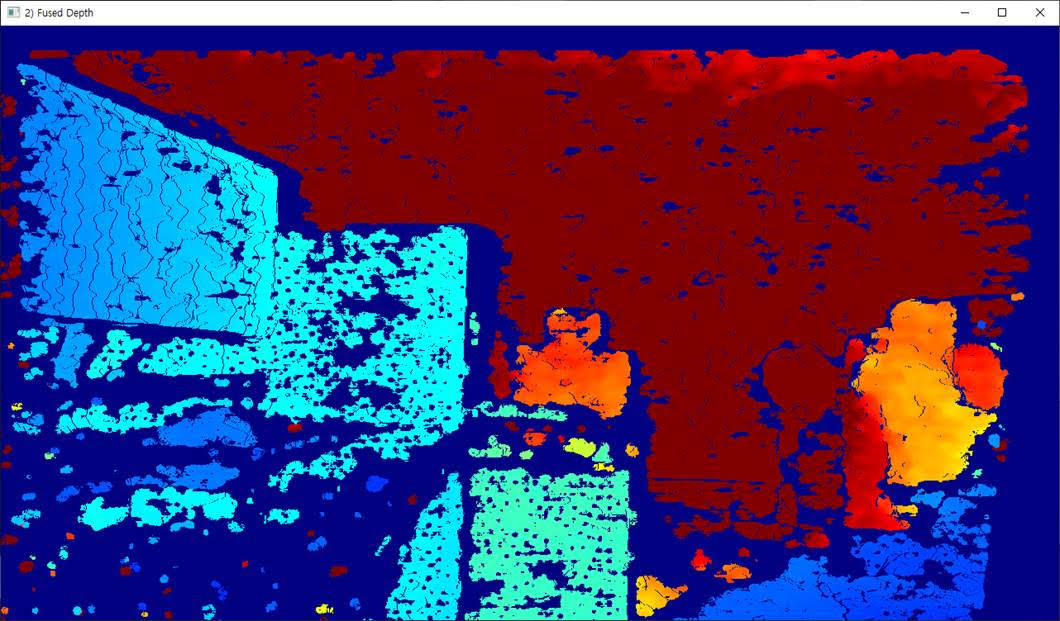
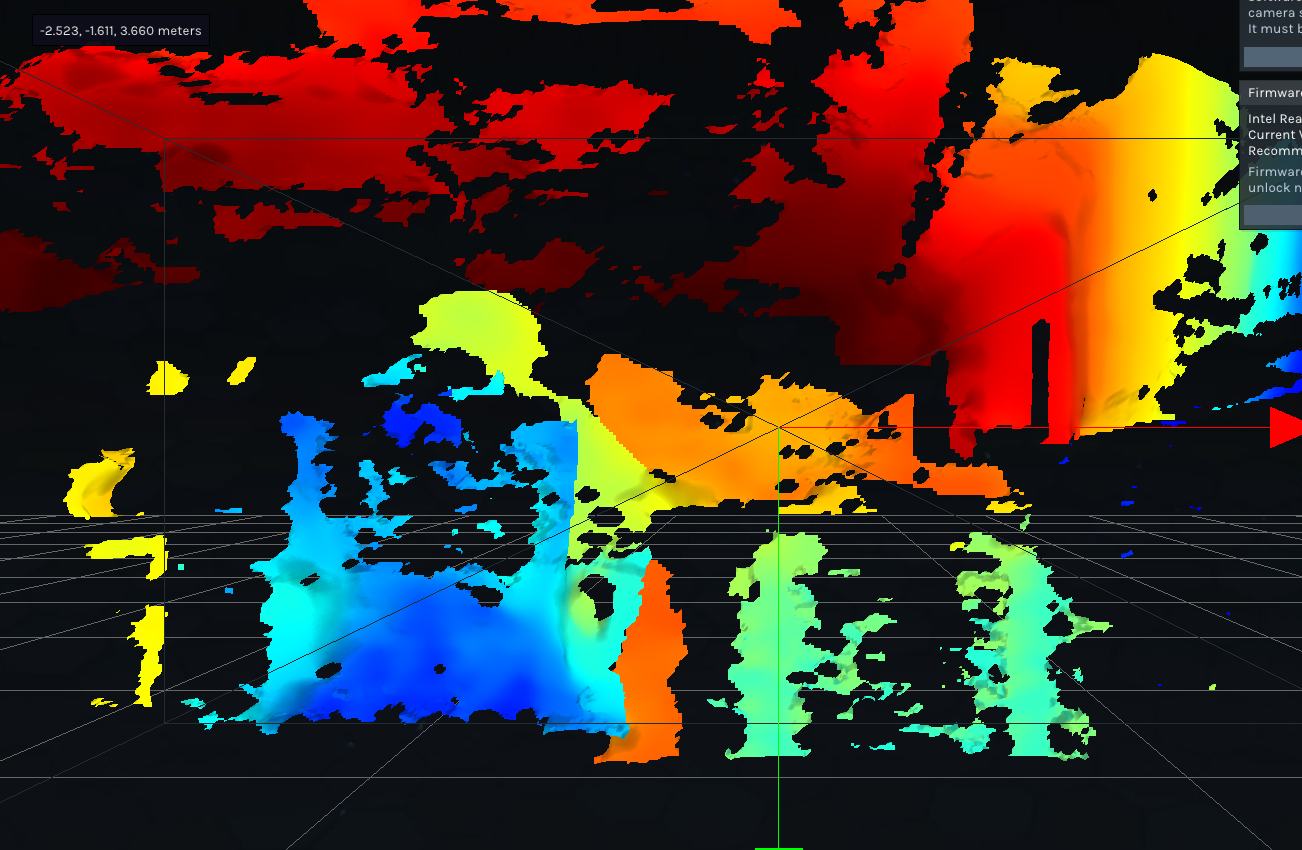
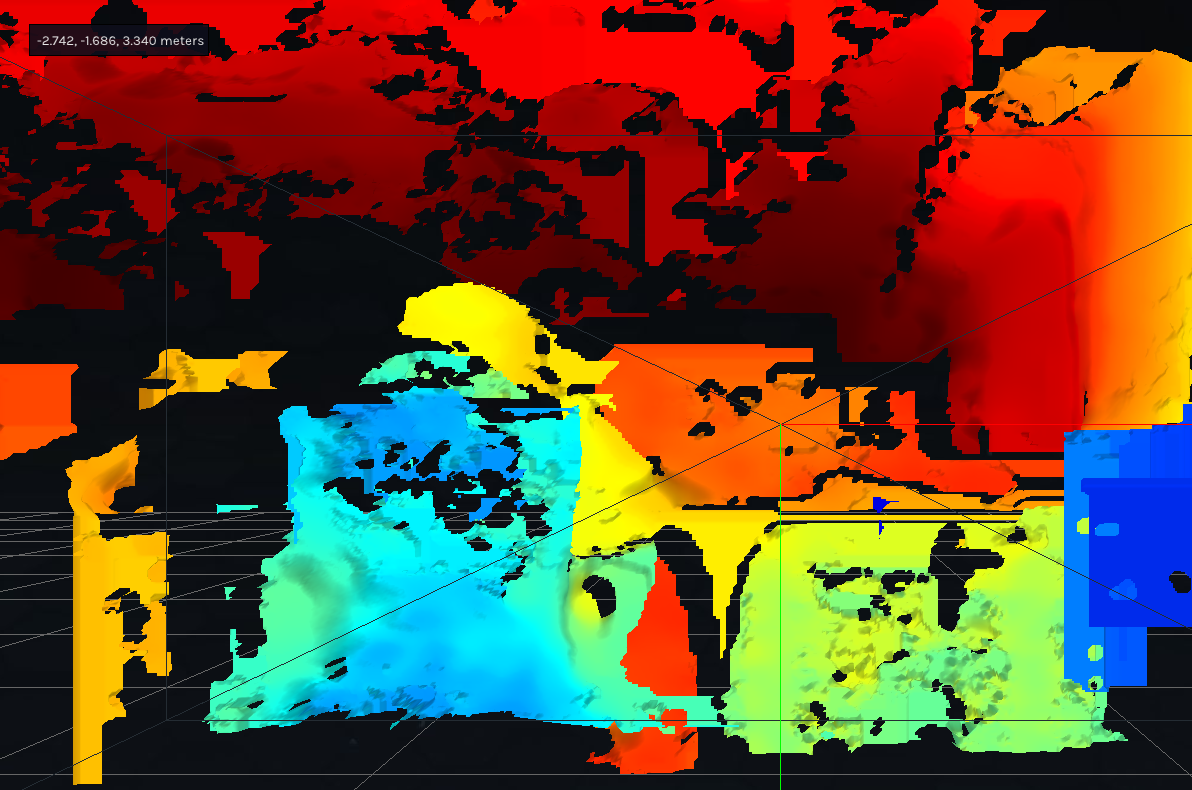
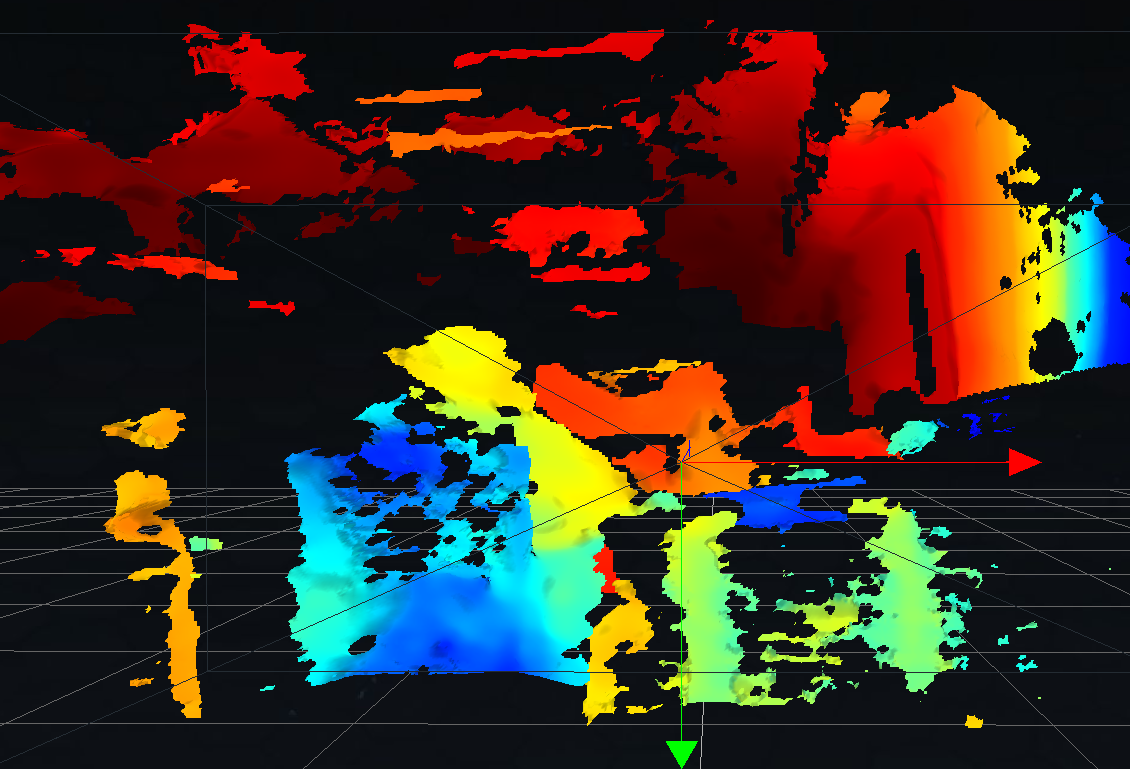
We are using D455f. But we met depth issues like images attached. May you help us to clear this issue for our product? If you need any more information, please let us know. We will come back to you as soon as possible.
-
Hi Ryan Lee What distance is the camera from the observed surface, please? It is recommended that a D455f is placed at least 60 cm away. This is because RealSense cameras have a minimum depth sensing distance that varies depending on the model of camera, and if the camera is moved closer to a surface than the recommended minimum distance then the depth image starts to break up in a way similar to your kindly provided image.
If the camera is closer to the observed surface than 60 cm then the camera's minimum distance can be reduced with the Disparity Shift setting to enable the camera to move closer before the image starts breaking up, at the expense of a reduced observable maximum depth distance as the Disparity Shift value is increased.
-
Hi Ryan Lee Do you require further assistance with this case, please? Thanks!
-
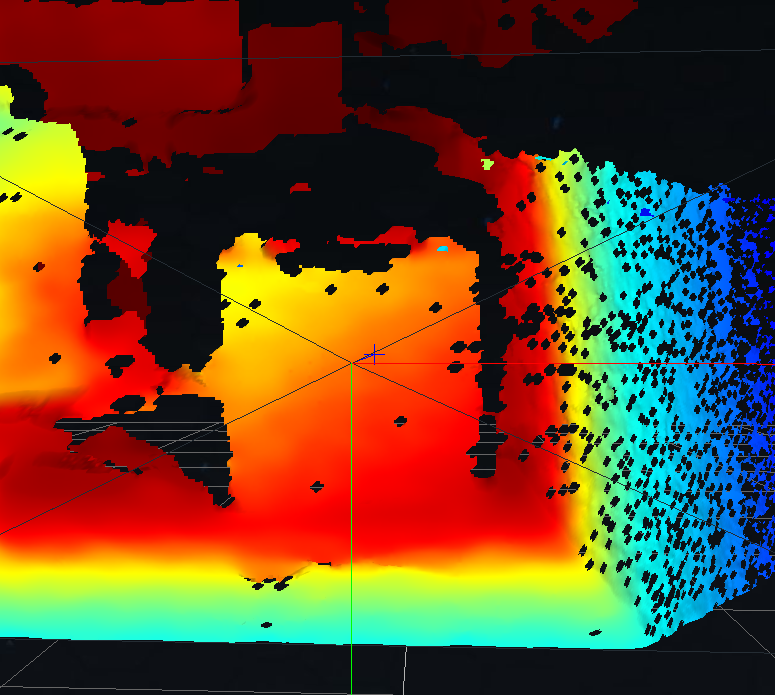
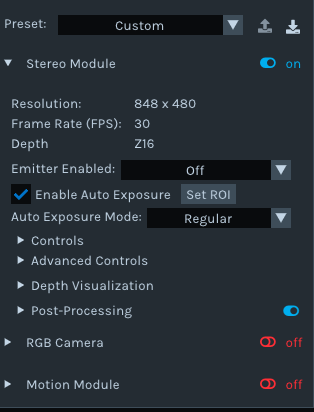
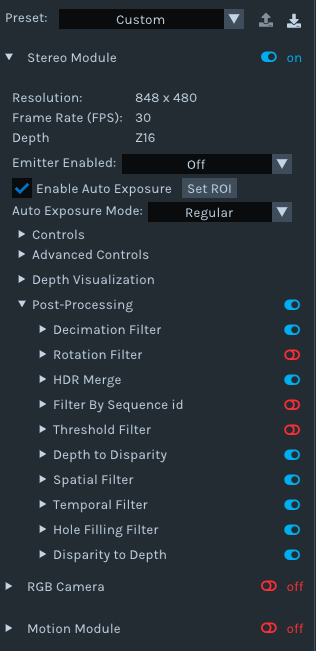
Thanks very much for the RealSense Viewer image. Let's next test whether the camera's infrared dot pattern emitter could be causing the black dots. Please go to the Stereo Module > Controls section of the Viewer and click on the drop-down menu beside the 'Emitter Enabled' option, and set it to 'Off' to disable the emitter.
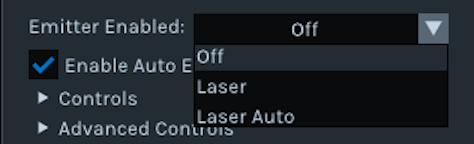
Do the black dots then disappear from the depth image?
-
There is too much depth detail lost when the emitter and its light output is disabled to tell whether the holes are resulting from the emitter's projected dot pattern. It does seem though that it is much better for image quality to have the emitter enabled even if it results in the small holes.
Does the image quality in the Viewer become satsfactory if you open the list of post-processing filters and enable the Hole-Filling filter?
-
Hi,
First of all thank you so much about your dedicated help.
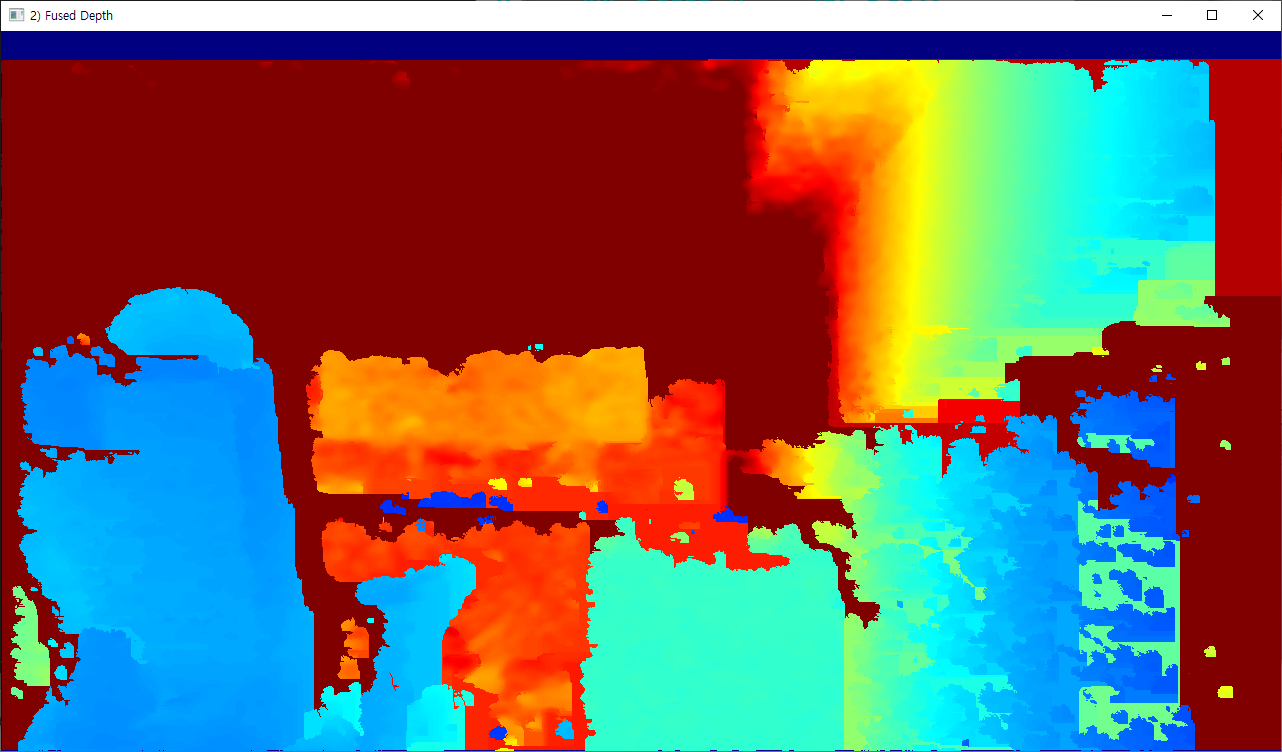
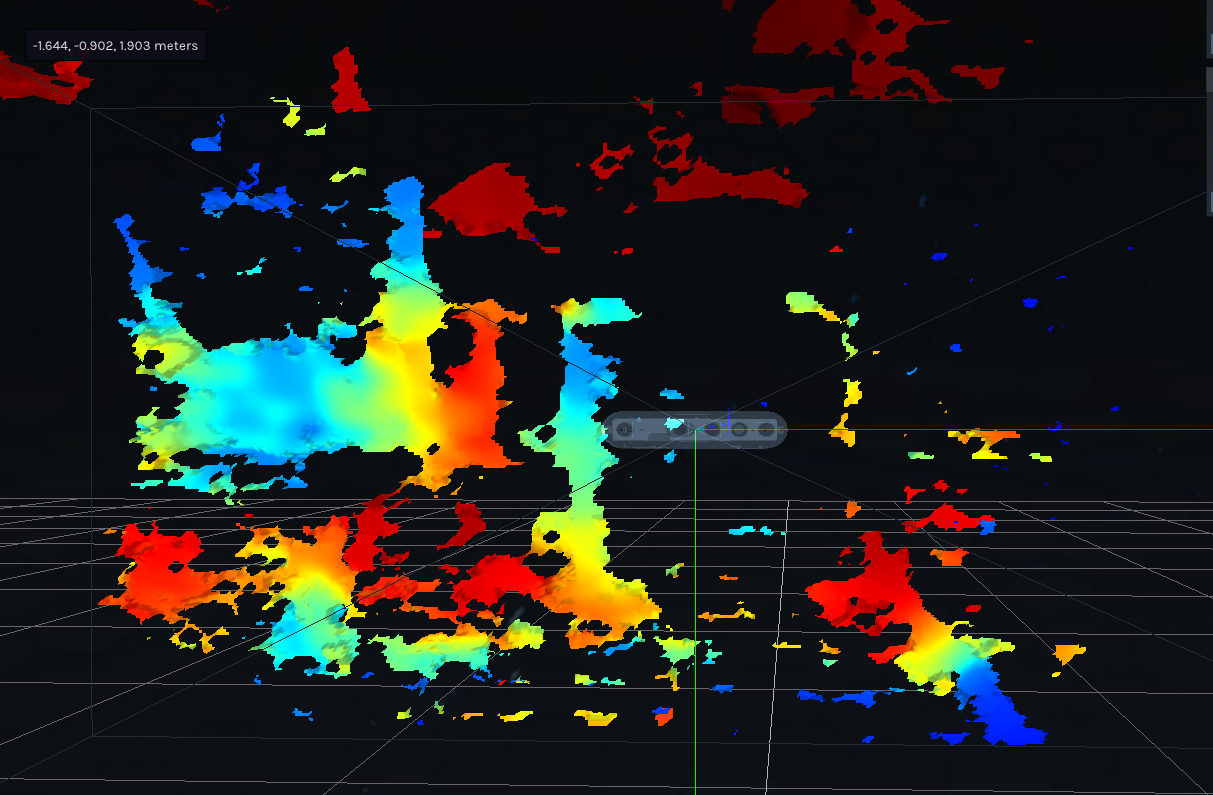
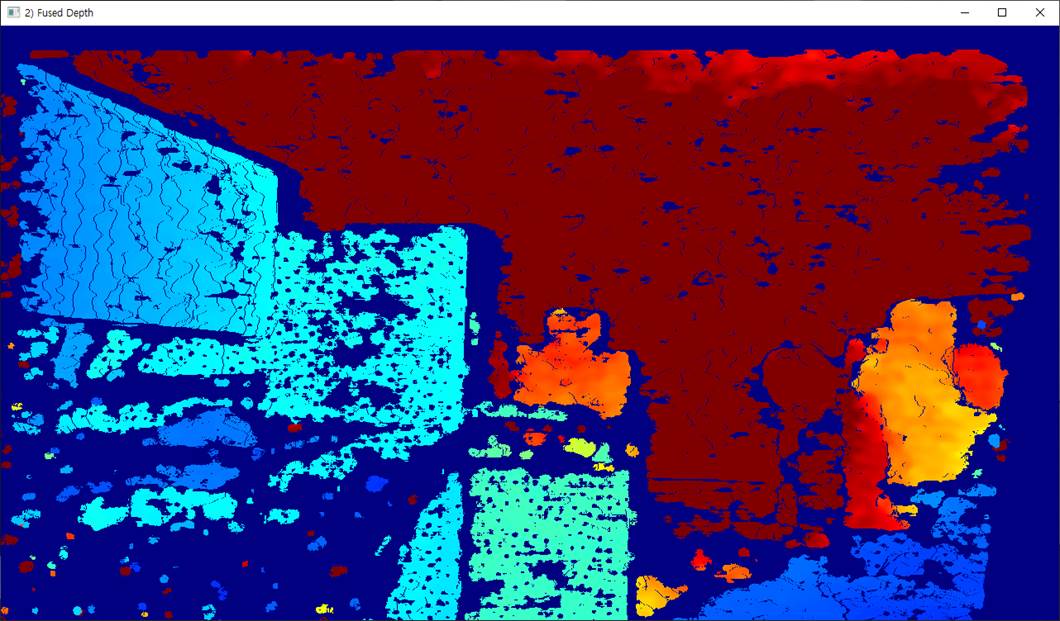
Above is the image that appears when using the settings you sent. Is the data being received correctly?
However, we are using the exact same environment, the same PC, and the same cable, but since the depth data is coming in differently just because the camera is different, we suspect there is a problem with the camera.
Will this issue be resolved by doing this? The depth data comes in differently even when using a camera with the same specifications.
Could you help us some more about our question?
Best regards,
Ryan.
-
The image looks correct, with blue shading on the surfaces near to the camera and shifting from blue to yellow / orange to red (the furthest-away surfaces) as the distance of surfaces from the camera increases.
When you say 'the camera is different', does this mean that you have tested with more than one camera? If you have, what is the model of the other camera, please? Is it a D455f or another RealSense model?
-
Hi,
We have three. One D455f with issue so we are talking about. And one D455f normal. and one D435i. two D455f and D435i are same performance. only one of D455f had an issue we were talking about. We would like to be more clear about this issue. such as the reason and whether we can meet this kind of issue often or not.
1. D455f that I own (camera currently having issues)
2. D455f camera used in another project (normal)
3. D435i camera used in another project (normal)
Best regards,
Ryan.
-
Please try using the instructions at the link below to reset the affected camera in the RealSense Viewer to its factory-new calibration values.
https://github.com/realsenseai/librealsense/issues/11596#issuecomment-1490647753
-
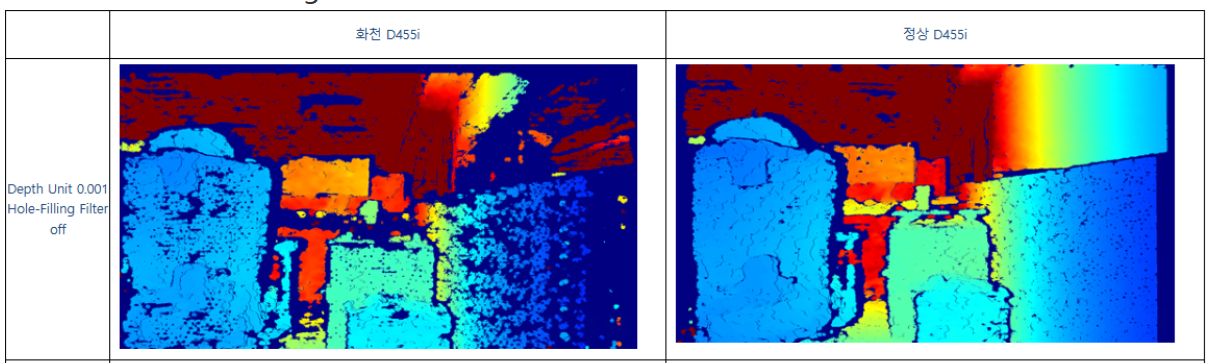
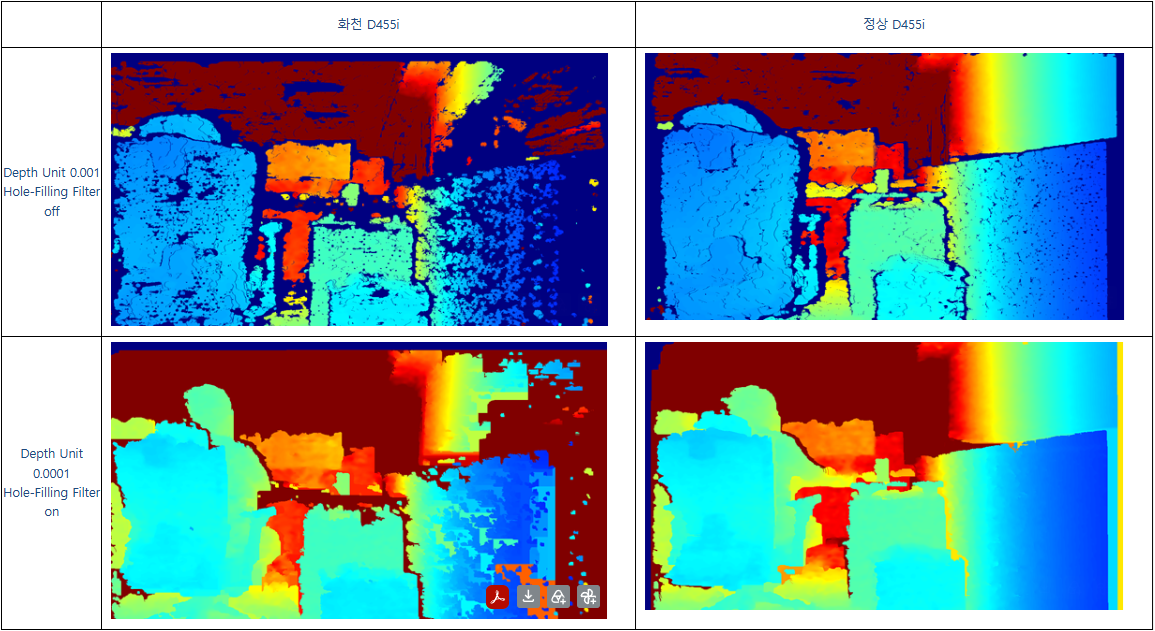
If the left image is a D455f and the right image is a normal D455, if the D455f has been reset to its factory-new default calibration by you then perhaps the difference is due to the lighting level.
D455f is equipped with a light-blocking filter. This is very useful in an outdoor scenario that may have strong sunlight, but if you are indoors then I can see how strong light might get filtered out. An ordinary D455 with no filter can see all of the visible and near-visible light frequencies, and depth analysis benefits from light.
If not enough light is reaching the depth sensors then you could compensate for this by increasing the camera's Laser Power setting to its maximum value of 360 if you have not tried this already. Maximizing laser power can help to fill in holes on the depth image.
-
If both cameras are D455f now, do both cameras have similar images with holes in them, or is it only one camera in the pair that looks like this?
If both are D455f and both have similar holes in them, and if the holes do not occur when using an ordinary D455, then that would indicate that the filters are causing the issue when using the camera in the particular location that you are operating the cameras in.
However, if the two D455f produce images like the ones you shared earlier, with one camera having much more holes than the other, then that could suggest there is a hardware problem with the one particular D455f camera that has the worse image.
-
I would suggest giving the front of the left camera a wipe with a cloth or tissue to make sure that the worse image is not because of dirt covering the lenses.
Also try my earlier suggestion of increasing the camera's Laser Power setting in the RealSense Viewer to its maximum value of 360 if you have not tried this already, as maximizing laser power can help to fill in holes on the depth image.
Swap over the USB cables of the bad and good cameras to eliminate the possibility of a problem with the cable on the bad camera.
If none of those actions make a difference then if the affected camera was purchased less than 12 months ago, I recommend contacting the retailer that you purchased it from to enquire about an RMA return under warranty for a replacement.
-
If you purchased the camera from the official RealSense Store then you can contact them using the web form at the link below, selecting 'Return / Warranty' from the topic selection drop-down menu as the reason for contacting them.
https://www.realsenseai.com/realsense-e-commerce-store-inquiry/
If you purchased the camera from a retailer other than the official store then please contact that retailer's support channel, quoting that you are enquiring about an 'RMA return under 12 month warranty' of the camera.
Please sign in to leave a comment.
Comments
22 comments